
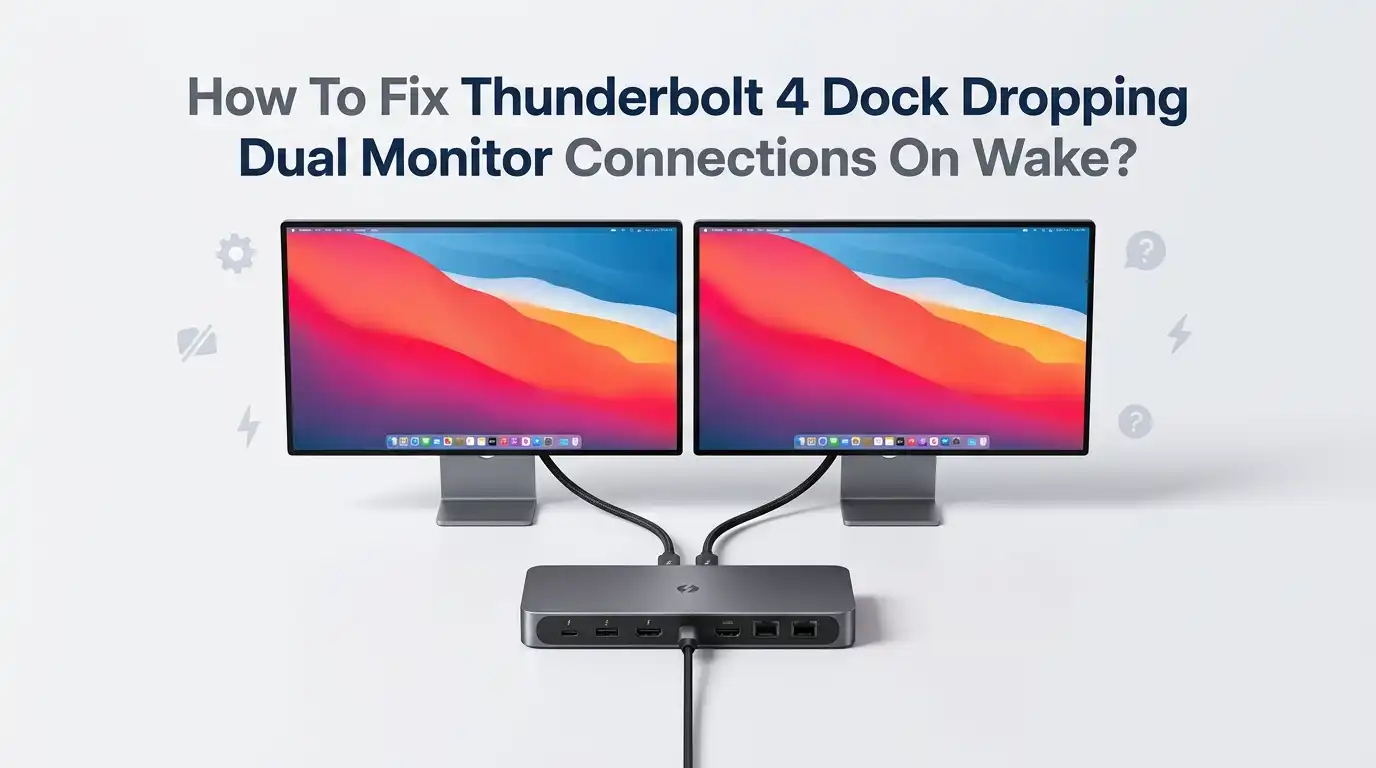
How To Fix Thunderbolt 4 Dock Dropping Dual Monitor Connections On Wake?
You close your laptop lid, walk away, and grab a coffee. You come back, tap a key, and your two monitors stay black. The mouse works. The keyboard works.
But your screens act like they forgot they exist. Sound familiar? This is one of the most common complaints with Thunderbolt 4 docks, and it drives people up the wall.
The good news is that this problem is fixable in most cases. You do not need to buy a new dock right away. Most of the time, the fix lives inside your power settings, your drivers, or your dock firmware. Sometimes it is a single cable.
Key Takeaways
- Power management is the number one cause. Windows often cuts power to USB and Thunderbolt controllers during sleep, which makes the dock lose track of your monitors. Disabling these power saving options fixes the issue for most users.
- Old firmware and drivers break wake behavior. A stale dock firmware or Thunderbolt driver can stop the dock from re negotiating the display link on wake. Updating both is one of the highest impact fixes.
- Fast Startup creates a fake shutdown state. This Windows feature confuses the dock and can leave monitors stuck. Turning it off solves many random display dropouts.
- The cable and port matter more than people think. A non certified Thunderbolt cable or the wrong port can cause constant disconnects. Always use a certified Thunderbolt 4 cable in a true Thunderbolt port.
- Daisy chaining and MST setups are fragile on wake. Direct connections from the dock to each monitor tend to recover better than chained displays.
- A power cycle of the dock is the universal reset. When all else fails, unplugging the dock for thirty seconds forces a clean handshake.
Why Your Thunderbolt 4 Dock Loses Monitors On Wake
Let me explain the root cause in plain terms. Your Thunderbolt 4 dock acts as a traffic controller. It carries video, USB, power, and network data through one cable. When your computer sleeps, Windows tries to save energy by powering down parts of this chain.
The problem starts when your laptop cuts power to the Thunderbolt controller or the USB root hub. On wake, the dock and the computer must shake hands again and rebuild the video link. Sometimes this handshake fails. The dock stays awake, but the computer never re detects the displays.
Monitors also enter their own deep sleep. If the dock drops the DisplayPort signal for a moment, the monitor may give up and show “No Signal.” Both sides need to agree to wake at the same time, and that timing often breaks.
First Quick Checks Before You Start
Always begin with the simple stuff. You would be surprised how often the basics solve the whole thing. Start by checking that your dock plugs into a real Thunderbolt port and not a regular USB-C port. Look for the small lightning bolt symbol next to the port.
Next, confirm your dock has its own power supply connected. A dock running on bus power alone often cannot hold a stable dual monitor link. Plug the dock into the wall.
Then reseat every cable. Unplug the Thunderbolt cable, both monitor cables, and the dock power. Wait ten seconds. Plug them back in firmly.
Loose or half seated cables cause random dropouts that look like software bugs. Finally, try a quick restart of the computer. A fresh boot clears stuck states and gives you a clean baseline to work from.
Power Cycle The Dock The Right Way
A proper dock power cycle is the most reliable instant fix. Many people just unplug the Thunderbolt cable, but that is not enough. You need to fully drain the dock. Start by disconnecting the Thunderbolt cable from your laptop.
Then unplug the dock’s power adapter from the wall. Wait at least thirty seconds. This step matters because internal capacitors hold a charge and keep the dock “thinking” it is still connected. The wait lets the dock reset completely.
Now plug the dock power back in first. Let it sit for ten seconds so it fully boots. Then reconnect the Thunderbolt cable to your laptop. Your monitors should light up within a few seconds.
Pros: It works almost every time and needs no technical skill.
Cons: It is a manual fix, not a permanent one. You may need to repeat it after every sleep cycle until you apply a deeper solution.
Disable USB Selective Suspend To Stop Dropouts
This is one of the most powerful software fixes. USB Selective Suspend lets Windows shut off power to USB devices to save energy. Your Thunderbolt dock relies on USB power signals, so this feature often causes the wake failure.
Open the Control Panel and go to Power Options. Click “Change plan settings” next to your active plan. Then click “Change advanced power settings.” Scroll to USB settings, expand it, and find USB selective suspend setting.
Set both “On battery” and “Plugged in” to Disabled. Click Apply and OK. This stops Windows from cutting power to the dock during sleep. Many users report their monitors wake instantly after this single change.
Pros: It is a permanent fix and easy to apply. It often solves the issue completely.
Cons: It uses slightly more battery power. On a desktop or always plugged in laptop, this trade off does not matter at all.
Turn Off Power Management For USB Root Hubs
This fix builds on the last one and closes another gap. Even with selective suspend off, individual USB Root Hubs can still power down. You need to lock each one open. This often fixes docks that recover slowly or only after a long delay.
Press the Windows key and X, then open Device Manager. Expand “Universal Serial Bus controllers.” You will see several entries named USB Root Hub and Generic USB Hub.
Right click the first one and choose Properties. Go to the Power Management tab. Uncheck the box that says “Allow the computer to turn off this device to save power.” Click OK. Repeat this for every USB Root Hub in the list.
Pros: It stops the dock controllers from sleeping and ignoring wake calls. It pairs well with the selective suspend fix.
Cons: You must apply it to each hub one by one. After a major Windows update, you may need to recheck these settings.
Disable Fast Startup In Windows
Fast Startup sounds helpful, but it causes endless dock headaches. This feature does not fully shut down your PC. Instead, it saves a partial system state to disk. When the dock reconnects, it expects a clean boot but gets a confused mixed state.
Open the Control Panel and go to Power Options. Click “Choose what the power buttons do” on the left. Then click “Change settings that are currently unavailable.” You will need admin rights for this.
Scroll down to “Shutdown settings.” Uncheck the box labeled “Turn on fast startup.” Click “Save changes.” Now restart your computer once so the change takes full effect.
Pros: It fixes many random display detection bugs and improves dock stability across reboots. It also makes driver updates apply more cleanly.
Cons: Your PC will boot a few seconds slower. On modern SSD systems, this difference is barely noticeable.
Update Your Thunderbolt 4 Dock Firmware
Outdated dock firmware is a leading cause of wake failures. Dock makers release firmware fixes specifically for sleep and display bugs. I have seen many cases where a single firmware update wiped out the problem entirely.
Visit your dock manufacturer’s official support page. Search by your exact dock model number, which usually sits on a label underneath the dock. Download the latest firmware update tool.
Connect the dock with everything attached, plug in dock power, and keep the laptop on AC power during the update. Run the tool and do not unplug anything until it finishes. A failed firmware flash can brick the dock, so let it complete.
Pros: It targets the exact bug at the hardware level and often gives a permanent fix.
Cons: The update process feels nerve wracking the first time. Some older docks no longer receive firmware updates, which limits this option.
Update Thunderbolt Controller Drivers And Software
Your laptop’s Thunderbolt controller needs current drivers too. The dock and the controller must speak the same language to rebuild the video link on wake. Old drivers break this conversation.
Open your laptop maker’s support tool, such as the official update utility for your brand. Look for Thunderbolt Controller Driver and Thunderbolt firmware updates. Install both. Many brands bundle these into one update package.
You should also check for the Thunderbolt Control Center app from the Microsoft Store. This app manages how your Thunderbolt devices connect and approve. Make sure your dock shows as “Always Connect” inside it.
Pros: It fixes communication errors between your PC and the dock. It also improves overall Thunderbolt stability.
Cons: Driver tools sometimes miss the newest version. You may need to visit the chipset maker’s site directly to grab the latest Thunderbolt driver.
Update Or Roll Back Your Graphics Drivers
Your GPU drives the monitors, so it sits at the center of this issue. A buggy graphics driver can fail to re detect displays after the dock reconnects. This is common right after a big driver release.
First, try updating to the newest stable graphics driver from your GPU maker’s official site. Use a clean install option if it is offered. This wipes old settings that may carry the bug. Restart and test a full sleep and wake cycle.
If the problem started right after a driver update, do the opposite. Roll back to the previous version. In Device Manager, open Display adapters, right click your GPU, choose Properties, then the Driver tab, and click “Roll Back Driver.”
Pros: It fixes display detection bugs at the software level. Rolling back gives fast relief when a new driver broke things.
Cons: Finding the exact good version takes trial and error. Each update may reset your display layout.
Fix Your Cable And Port Setup
Hardware quality decides whether your dock holds a stable link. Not every USB-C cable carries Thunderbolt video. A cheap or damaged cable causes dropouts that look exactly like software bugs.
Use a certified Thunderbolt 4 cable between your laptop and the dock. These cables carry the full bandwidth and power your dual monitors need. A simple charging cable will not do the job. Keep the cable short, ideally under one meter, for the most stable signal.
Also check the monitor cables. Try a different DisplayPort or HDMI cable on each screen. Plug each monitor directly into the dock rather than through an adapter chain. Connect the dock to a true Thunderbolt port on your laptop, marked with the lightning symbol.
Pros: A good cable fix is permanent and cheap. It removes a hidden cause many people overlook.
Cons: Certified cables cost more than basic ones. You may need to test a few cables to find the stable one.
Avoid Daisy Chaining And MST On Wake
How you connect your two monitors changes how well they recover. Daisy chaining and MST setups are fragile during sleep and wake. When one display in the chain drops, the whole chain can collapse.
If your dock has two separate video outputs, use one direct connection per monitor. This gives each screen its own clean link to the dock. Direct links recover faster and more reliably on wake than chained displays.
If you currently daisy chain through one monitor into the next, try splitting them. Plug each monitor into its own port on the dock instead. This small change often stops the wake dropout for good.
Pros: Direct connections are far more stable and simpler to troubleshoot.
Cons: You need a dock with enough video ports for both monitors. Some compact docks only offer one output, which forces a chain.
Adjust Sleep And Display Settings In Windows
Your Windows sleep behavior can deepen the problem. Some sleep states cut more power than the dock can handle. Tuning these settings gives the dock a gentler wake.
Open Settings, go to System, then Power. Set “When plugged in, turn off my screen” to a longer time or Never if you prefer. This stops the deep display sleep that confuses the dock. You can also set sleep to Never while plugged in to test if sleep is the trigger.
For laptops, search for “Edit power plan” and explore Modern Standby behavior. Modern Standby is a common culprit on Thunderbolt docks. If your device supports classic S3 sleep in the BIOS, switching to it often helps.
Pros: It removes the harsh sleep states that break the dock link.
Cons: Disabling sleep uses more energy. Not every laptop lets you switch sleep modes, since this depends on BIOS support.
Check BIOS And Thunderbolt Security Settings
Your laptop BIOS holds settings that control how Thunderbolt behaves. A wrong setting here can block the dock from waking properly. This step helps when software fixes do not stick.
Restart your laptop and enter the BIOS, usually by pressing F2, F10, or Delete during boot. Look for a Thunderbolt or USB section. Make sure Thunderbolt support is enabled and set the security level to allow your dock to connect.
Find any “Wake on Thunderbolt” or USB wake option and enable it. Also look for a setting that keeps USB or Thunderbolt powered during sleep and turn it on. Some laptops call this “Always On USB.”
Pros: It fixes the issue at the firmware level, below Windows. These changes survive Windows updates.
Cons: BIOS menus look different on every brand. A wrong change here can cause boot issues, so move carefully and note each setting.
When To Reset Or Replace The Dock
Sometimes the dock itself is the weak link. If you tried every fix and the problem stays, the hardware may be faulty. Before you give up, try a full dock reset.
Some docks have a tiny reset hole or a firmware recovery mode. Check your dock’s support page for the exact reset steps. A factory reset clears corrupted internal states. Test your dock on a second computer too. If it fails there as well, the dock is the cause.
If a different laptop works fine with your dock, then your original laptop’s Thunderbolt port or drivers carry the issue. Match the dock to your laptop’s chipset and certification level. A dock that is fully certified for your platform tends to behave far better on wake.
Pros: Replacing a faulty dock ends the cycle of constant fixes.
Cons: It costs money and time. Make sure you confirm the dock is truly the problem first, since the cause often lives in software.
Frequently Asked Questions
Why do only my external monitors fail to wake while the keyboard works?
This happens because Windows powers the USB data path separately from the video path. Your keyboard and mouse run on low power USB and recover quickly. The video link needs a full handshake between the dock and the GPU. When that handshake fails, the input devices still work but the screens stay black. Disabling USB power saving and updating your dock firmware usually fixes this split behavior.
Will disabling USB selective suspend hurt my battery life?
It will use slightly more battery, but the difference is small. The setting only stops Windows from cutting power to USB devices during low activity. On a desktop or a laptop that stays plugged in, this trade off has no real impact. For most people, stable monitors are well worth the tiny power cost. You can always re enable it later if you notice a real battery drop.
Is Fast Startup or Modern Standby the bigger problem?
Both cause trouble, but they hit at different times. Fast Startup affects full shutdowns and reboots, while Modern Standby affects sleep and wake. If your monitors fail after sleep, focus on Modern Standby and power settings first. If they fail after a shutdown and boot, turn off Fast Startup. Many users disable both to cover every case.
Do I really need a certified Thunderbolt 4 cable?
Yes, for a stable dual monitor setup you do. A non certified cable may not carry full Thunderbolt bandwidth or power. This causes random dropouts that look like software bugs. A certified Thunderbolt 4 cable guarantees the dock gets the speed and power it needs. Keep the cable short and undamaged for the best results.
Could a Windows update bring this problem back?
Yes, it can. Major Windows updates sometimes reset power settings or replace your drivers. After a big update, recheck your USB power management and your graphics driver version. Keep a note of your working settings so you can restore them quickly. If a fresh update breaks things, rolling back the graphics driver often brings your monitors back.
How do I know if the dock or the laptop is at fault?
Test the dock on a second computer. If the dock works perfectly there, your original laptop’s drivers, BIOS, or Thunderbolt port carry the issue. If the dock fails on both machines, the dock itself is faulty. This simple swap test saves you from buying new hardware you do not need.

Hi, my name is Lily you can say i am a gadget hunter at this point. Welcome to Gadget Gallery The Gallery of Gadget Reviews