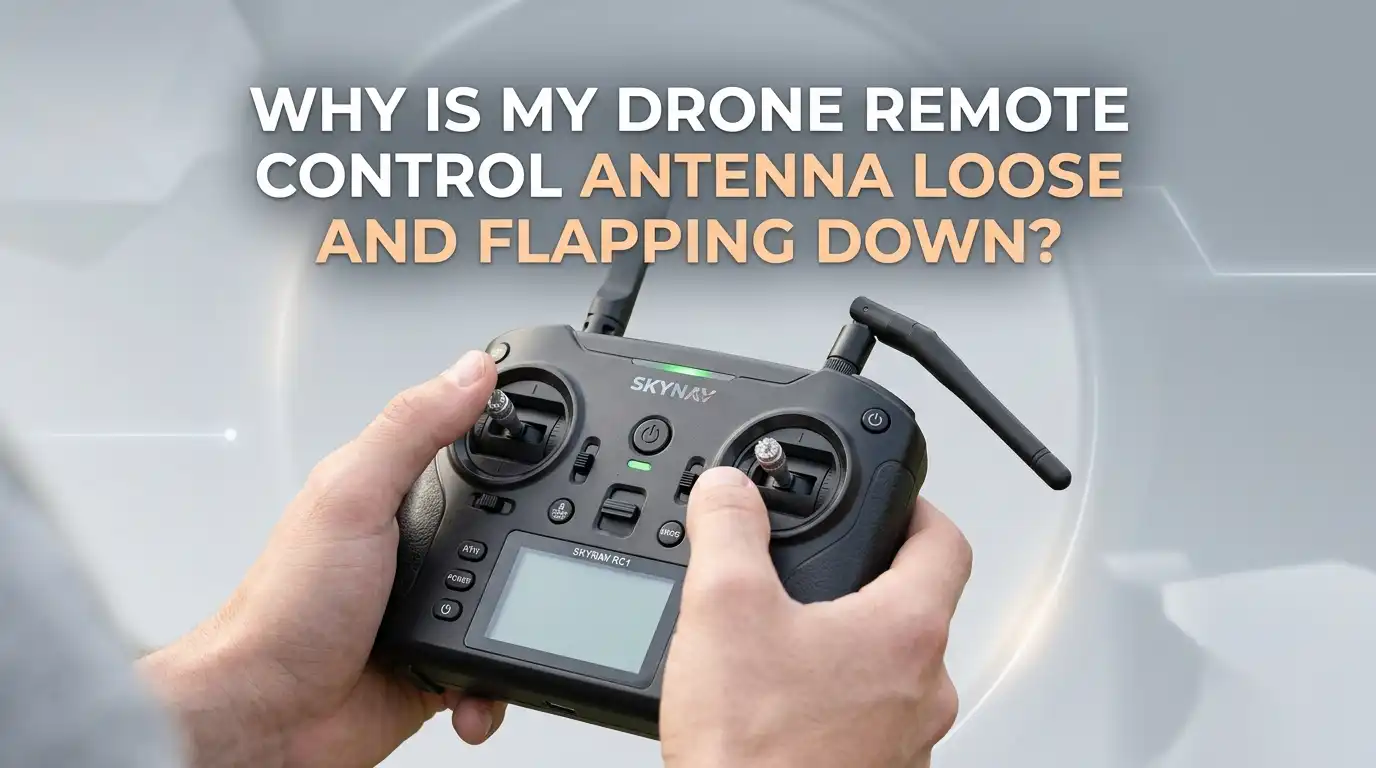
Why Is My Drone Remote Control Antenna Loose and Flapping Down?
Your drone controller antenna keeps drooping down. You raise it up, and within seconds it flops back. This problem frustrates pilots every single day. A loose antenna does more than annoy you. It weakens your signal, shortens your flight range, and risks a disconnect midair.
The good news? You can fix this issue at home in most cases. You do not need to ship your controller to a repair shop right away.
This guide walks you through every cause and every solution step by step. You will learn what tools you need, what to avoid, and how to keep your antenna firm for years.
Let us get into the details so you can fly again with full confidence.
Key Takeaways
- Worn hinge plastic is the top reason your antenna flaps down. Daily folding wears out the small grip teeth inside the joint over time.
- A loose antenna can cut your signal range by 30 to 50 percent. The angle of the antenna must face your drone for the best link strength.
- Heat shrink tubing, rubber bands, and small shims offer fast home fixes. These methods cost almost nothing and take under ten minutes to apply.
- Opening the controller for an internal tightening job works well for DJI, Autel, and FPV transmitters. You only need a Phillips screwdriver and a pry tool.
- Replacement antenna modules are sold by most drone brands. Swapping the part is the most permanent fix when the hinge is fully broken.
- Never force a stuck antenna. The internal coaxial cable can snap, and that repair costs much more than a new hinge.
- Store your controller with the antenna folded down. This habit reduces stress on the joint and extends its life.
What Causes a Drone Controller Antenna to Become Loose
The main cause is mechanical wear inside the hinge. Most drone controllers use a plastic ratchet joint with tiny teeth. Each time you fold or unfold the antenna, those teeth grind against each other.
After hundreds of cycles, the teeth flatten. The grip weakens. The antenna can no longer hold its position. Heat and humidity speed up this wear.
Drops and bumps also damage the joint. A single fall onto a hard floor can crack the plastic housing. Once cracked, the antenna loses tension. Some controllers use screws inside the hinge that loosen from vibration. In rare cases, the internal antenna cable pulls on the joint and creates extra strain.
Knowing the cause helps you pick the right fix.
How a Loose Antenna Hurts Your Drone Flight
A floppy antenna is not just a cosmetic problem. It changes the way radio waves travel between your controller and your drone. Antennas need correct angles to transmit signals at full strength.
When your antenna flaps down, the signal pattern shifts. You may notice a shorter flight range, video lag, or sudden disconnects. Some pilots even see their drone enter Return to Home mode without warning.
The flat side of the antenna should face your drone. A drooping antenna often points its weak end at the sky instead. This wastes most of your transmit power. Long range flights become risky. Even short flights inside buildings may glitch. Fixing the antenna restores both signal quality and peace of mind.
Check the Hinge Before You Try Any Fix
Start with a quick inspection. Hold the controller in good light and look closely at the antenna base. Look for cracks, gaps, or missing plastic pieces. Wiggle the antenna gently from side to side.
If it feels wobbly in all directions, the hinge is worn out. If it only flops down but holds firm sideways, the ratchet teeth are smooth. Press the antenna into different angles and count how long it stays.
Listen for any clicking sound. A healthy hinge clicks softly when you move it. A broken hinge feels mushy and silent. Also check the antenna cap for looseness. Sometimes the tip unscrews itself, which makes the whole stick feel unstable. This step takes one minute and saves wasted effort.
Pros: Free, fast, prevents wrong repairs.
Cons: Needs good eyesight, may miss internal damage.
Quick Fix With Heat Shrink Tubing
Heat shrink tubing is the favorite trick of many DJI pilots. You slide a piece of clear tubing over the hinge area. Then you warm it with a hair dryer. The tubing shrinks and grips the antenna firmly.
Use 1 inch wide clear heat shrink for the best results. Cut a piece about 2 inches long. Slide it over the folded antenna so it covers both the hinge and part of the controller body. Apply heat slowly and evenly to avoid melting the plastic underneath.
The tubing holds the antenna in one position. You can still tilt it slightly for signal aim. This method works great for DJI RC Pro and Mavic 3 controllers.
Pros: Cheap, clean look, reversible, takes five minutes.
Cons: Limits antenna movement, may need replacement every few months.
Rubber Band Method for Temporary Hold
If you need a fix right now before a flight, grab a rubber band. Wrap a small thin band around the antenna base and the controller shoulder. This adds friction to the hinge and stops the flap.
Pick a band that is tight but not stretched to its limit. A stretched band snaps quickly. You can also use a hair tie or a silicone wedding band cut to size. Some pilots tie two bands in a crisscross pattern for extra grip.
This trick has saved many flights at the field. It is not pretty, but it works. Replace the band every few weeks because rubber breaks down in sun and heat. Keep spare bands in your drone case for emergencies.
Pros: Free, instant, no tools needed.
Cons: Looks rough, breaks down fast, can slip during use.
Open the Controller and Tighten Internal Screws
For a real long term fix, open the controller. Most drone remotes have four to six Phillips screws on the back. Remove them and gently pry the case apart with a plastic spudger. Never use a metal tool because it can short out the board.
Inside, you will see the antenna mount. Some models have a small screw that controls hinge tension. Tighten this screw by a quarter turn at a time. Test the antenna feel after each adjustment.
If your model uses a clip instead of a screw, you may need a thin shim of paper or plastic. Slide it into the hinge gap to add pressure. Close the case and test again.
Pros: Permanent, costs nothing, deep fix.
Cons: Voids warranty, needs care, risk of cable damage.
Replace the Antenna Module Completely
When the hinge is fully cracked, replacement is the best path. Drone brands like DJI, Autel, and Skydio sell antenna modules for most controllers. Search the brand parts store with your controller model number.
Removal needs patience. Disconnect the small coaxial cable from the board first. Pull it straight up by the metal connector, never by the wire. Use plastic tweezers to avoid bending the pin.
Snap the new antenna into place and reconnect the cable. Make sure it clicks. Test the controller before you close the case. Some FPV transmitters use SMA connectors that simply screw on, which makes the job even easier.
Pros: Like new feel, full warranty of new part, lasts years.
Cons: Costs more, shipping wait, may need soldering on some FPV models.
Add a Small Shim Inside the Hinge
A shim is a thin piece of material that fills a gap. If your hinge teeth are worn but the housing is fine, a shim restores tension. Use thin cardstock, a slice of plastic from a milk jug, or thin foam tape.
Open the controller and locate the hinge. Slip a small piece of shim material between the two halves of the joint. Test the movement and add or remove layers until the antenna stays put.
This method gives a custom feel. You can make the hinge as tight or as loose as you want. Some pilots use felt for a soft smooth motion. Foam tape works best because it sticks in place and does not slide out over time.
Pros: Adjustable, cheap, custom feel.
Cons: Takes trial and error, may need to redo every year.
Use Threadlocker on Antenna Screws
Some controllers have screw on antennas, mostly FPV models with SMA connectors. These can unscrew from vibration during travel. A drop of blue threadlocker fluid keeps the threads tight.
Apply only one tiny drop on the male threads. Never use red threadlocker because it is permanent. Blue is removable with normal force later.
Screw the antenna back on and let it cure for a few hours before flight. The threadlocker fills the gaps in the threads and adds friction. This trick also works for the gimbal antenna mounts on some long range setups.
For DJI RC Pro and similar controllers without screw threads, skip this step. Threadlocker only helps on actual screw connections.
Pros: Cheap, lasts years, factory style fix.
Cons: Only works on screw type antennas, takes hours to cure.
Avoid Bad Habits That Loosen Antennas
Prevention saves money. Many antenna problems come from rough handling. Always fold the antenna by holding it close to the base. Pulling from the tip puts huge force on the hinge.
Do not store your controller with the antenna up. The raised position keeps tension on the joint all the time. Fold it down for storage and travel.
Keep the controller in a padded case. Loose tools or chargers in the same bag can hit the antenna. Avoid leaving the remote in a hot car because heat softens the hinge plastic. Wipe sand and dust away after beach or desert flights. Tiny grains grind the hinge teeth fast. These small habits add years to your antenna life.
Pros: Free, easy to learn, prevents many problems.
Cons: Needs daily discipline, slow to show benefit.
When to Send Your Controller for Professional Repair
Some damage goes beyond home fixes. If you see broken internal cables, snapped solder joints, or a fully shattered housing, call a pro. DJI, Autel, and other brands offer official repair services.
A pro repair uses original parts and keeps your warranty in many cases. Costs range from twenty to one hundred dollars based on your model.
Local drone shops also repair controllers. They often charge less and finish faster than mail in service. Ask for a quote before you send the unit. If your controller is old, a new one may cost the same as a repair. Weigh your options before you decide.
Pros: Expert work, original parts, full test before return.
Cons: Costs money, takes one to three weeks, may need shipping insurance.
Test the Signal After Every Fix
After any repair, test the signal before a real flight. Power on the drone and the controller side by side. Check the signal bars in your flight app. Move the drone fifty feet away and watch for drops.
A short outdoor range test confirms the fix. Hover the drone at twenty feet and walk around the field. Note any video glitches or control lag.
If the signal looks weak, recheck the antenna angle. The flat sides should aim toward the drone, not the tips. Adjust and test again. Never trust a repaired antenna on a long range flight on the first day. Build trust with short test flights first. This habit keeps your drone safe and your wallet happy.
Pros: Catches errors early, builds confidence, prevents flyaways.
Cons: Takes extra time, needs open space.
Final Thoughts on Fixing a Floppy Antenna
A loose drone controller antenna is a common problem with simple fixes. Most pilots solve it in under thirty minutes at home. Start with the easiest method like heat shrink or a rubber band. Move up to internal repair or replacement only if needed.
Your antenna controls your link to the sky. Treat it with care, and it will treat your drone with care. Replace worn parts before they fail in flight. Test every fix on the ground first.
With the tips in this guide, you can keep flying without buying a new controller. Save your money for accessories, batteries, or even a second drone. Happy flying and steady signals to you.
Frequently Asked Questions
Can I fly my drone safely with a loose antenna?
You can fly short distances, but range and signal quality suffer. A drooping antenna may cause sudden disconnects. Fix the issue before any long flight or important shoot.
Will heat shrink tubing damage my drone controller?
No, if you apply heat slowly and evenly. Use a hair dryer, not a heat gun. Keep the temperature low to protect the plastic body underneath.
How long does a drone controller antenna usually last?
Most antennas last two to four years with normal use. Heavy daily users may see wear in one year. Gentle folding and proper storage stretch the life much longer.
Does opening my controller void the warranty?
Yes, in most cases. Brands like DJI mark internal seals. If your unit is still under warranty, contact support first before any home repair.
Why does my antenna only flop one way?
The ratchet teeth wear unevenly. The side you use most loses grip first. A shim or heat shrink fix usually solves this single direction droop.
Can I use super glue to fix the hinge?
Avoid super glue on moving parts. It locks the antenna in one position forever. Use it only on cracks in the housing, not inside the joint itself.
Should I buy a third party antenna or stick with the original brand?
Original brand parts match perfectly and keep signal quality at factory levels. Third party parts may save money but sometimes cause range loss. Read reviews before you choose.

Hi, my name is Lily you can say i am a gadget hunter at this point. Welcome to Gadget Gallery The Gallery of Gadget Reviews