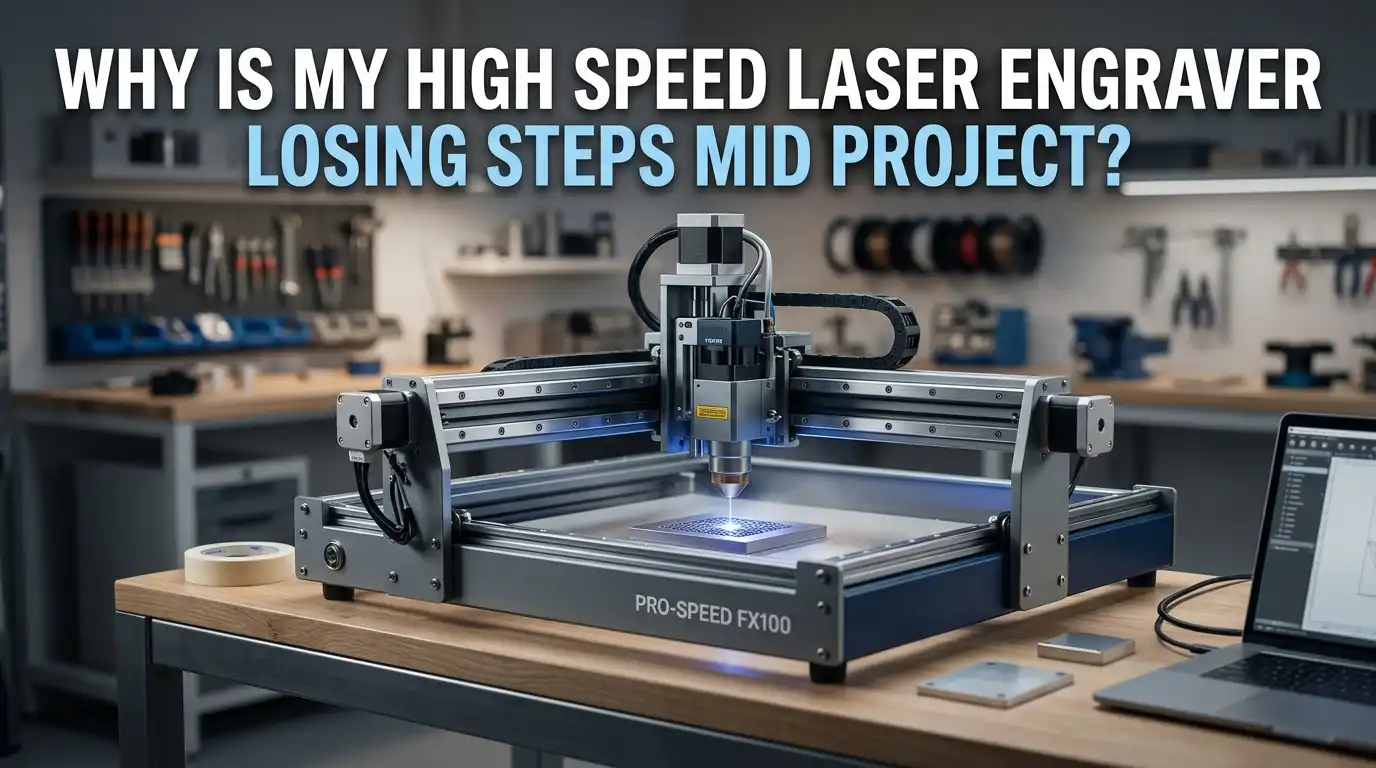
Why Is My High Speed Laser Engraver Losing Steps Mid Project?
Your laser engraver started a clean cut. Halfway through, the lines shifted. The pattern drifted sideways. The text turned into a mess.
Sound familiar? Step loss is one of the most frustrating problems hobbyists and small shop owners face. It wastes material, ruins finished pieces, and eats up hours of setup time.
The good news is that step loss almost always has a fixable cause. You do not need a new machine. You need a checklist. This guide walks you through every reason your high speed engraver drops steps mid job, and shows you how to fix each one with simple steps.
In a Nutshell:
- Step loss is mechanical or electrical, not random. Your stepper motor is missing pulses from the controller, or the belt is slipping on a loose pulley. Both leave behind clear clues.
- Speed and acceleration are the top culprits. Pushing your machine past its torque curve causes missed steps at corners and direction changes. Lowering acceleration often fixes the problem in minutes.
- Loose grub screws cause more drift than anything else. A pulley that spins on the motor shaft will lose position slowly across a long job, even if everything else is perfect.
- Belt tension matters in both directions. Too loose, and the belt skips teeth. Too tight, and the motor stalls under load. Aim for firm but flexible.
- Power and heat affect torque directly. A weak power supply or an overheated driver chip reduces holding torque and causes random stalls during long engravings.
- Software settings must match your hardware. Wrong steps per millimeter values, wrong microstepping, or a corrupt G code file can all create the same symptoms as a hardware fault.
What Step Loss Actually Means on a Laser Engraver
Step loss happens when the controller sends a pulse to the stepper motor, but the motor does not move that step. The controller still thinks the motor turned. So the next move starts from the wrong spot.
Over a long project, these small errors stack up. You might see the engraving shift 1mm, then 3mm, then 10mm. The machine never reports an error because it has no feedback. Most hobby laser engravers use open loop steppers, which means they cannot detect missed steps.
This is why your job starts perfect and ends wrong. The fix is to find the root cause and remove it.
Cause 1: Your Speed and Acceleration Are Too High
Stepper motors have a torque curve. As speed increases, available torque drops sharply. Push past the limit, and the motor stalls for a fraction of a second. That stall is a missed step.
Acceleration is even more demanding than top speed. The motor needs peak torque during direction changes. If you set acceleration too aggressively, the motor cannot keep up at every corner of a letter or curve.
How to fix it:
- Open your firmware settings (GRBL uses
$120and$121for X and Y acceleration). - Lower acceleration by 30 percent.
- Run a test square at your normal speed.
- If the square is clean, raise acceleration slowly until you find the safe ceiling.
Pros: Free, fast, and reversible. Cons: Slower jobs and longer engraving times.
Cause 2: Loose Pulley Grub Screws
This is the single most common cause of mid project drift. The small set screw inside the pulley grips the flat of the motor shaft. When it loosens, the pulley spins freely on the shaft.
The belt still moves. The motor still turns. But the motion is slightly off, and the error grows with every pass.
How to fix it:
- Power off the machine.
- Locate each pulley on the X and Y motors.
- Find the tiny grub screw on the side of the pulley.
- Confirm the screw sits on the flat part of the shaft, not the round side.
- Tighten firmly with a 1.5mm hex key.
- Add a drop of threadlocker if the screw keeps loosening.
Pros: Permanent fix in under five minutes. Cons: Easy to miss if you do not know where to look.
Cause 3: Belt Tension Is Wrong
A belt that is too loose will jump teeth on the pulley during fast direction changes. A belt that is too tight loads the motor bearings and steals torque from the steppers.
The sweet spot feels firm when you press the middle of the belt with a finger. It should flex about 3 to 5 millimeters under light pressure. You should be able to pluck the belt like a guitar string and hear a low hum, not a sharp twang.
How to fix it:
- Loosen the belt tensioner screws.
- Pull the belt to remove all slack.
- Slide the tensioner until the belt has firm but flexible feel.
- Lock the tensioner.
- Move the gantry by hand to confirm smooth motion.
Pros: Cheap and easy to adjust. Cons: Tension changes with temperature and time, so check it monthly.
Cause 4: Eccentric Nuts Are Too Tight or Too Loose
The V wheels on your gantry ride on aluminum rails. Eccentric nuts control how tightly the wheels press against the rail. Too tight, and the wheel binds. The motor strains, overheats, and skips steps.
Too loose, and the gantry wobbles. The head shifts during fast moves. Both conditions cause step loss.
How to fix it:
- Lift the wheel off the rail and spin it by hand.
- It should turn freely but not slip when you grip the rail.
- Use a wrench to rotate the eccentric nut a small amount.
- Test again. The wheel should grip the rail but spin under light finger pressure.
Pros: Improves overall motion quality, not just step loss. Cons: Requires patience to find the right tension on every wheel.
Cause 5: Stepper Driver Current Is Set Wrong
Your stepper driver sends current to the motor coils. If the current is too low, the motor lacks torque. If current is too high, the driver overheats and goes into thermal shutdown, which also looks like step loss.
Most hobby boards use DRV8825 or TMC2209 drivers. They have a small adjustment screw called Vref.
How to fix it:
- Find the Vref test point on each driver.
- Use a multimeter to read the voltage between Vref and ground.
- Compare with the formula in your driver datasheet (typically 0.7V to 1.0V for 1.5A to 2A motors).
- Turn the screw a quarter turn at a time.
- Run a long test cut after each change.
Pros: Massive torque improvement when set correctly. Cons: Wrong settings can fry your motor or driver, so go slowly.
Cause 6: Power Supply Is Underrated or Failing
Your power supply must deliver clean, stable voltage to the steppers. A weak or aging supply sags under load. During a fast move, the voltage drops, the motor loses torque, and a step is lost.
Cheap 12V supplies often cannot handle two steppers plus a laser diode at the same time.
How to fix it:
- Check the rated amperage on your power supply.
- Add up the current needs of your steppers, laser, and fan.
- The supply should provide at least 20 percent more current than the total.
- Use a multimeter to test voltage while the machine is running a long job.
- If voltage drops more than 5 percent under load, replace the supply.
Pros: A solid power supply fixes many strange issues at once. Cons: Quality supplies cost more than budget units.
Cause 7: Wrong Steps Per Millimeter in Firmware
If your firmware thinks the motor needs 80 steps to move 1mm, but the actual ratio is 79.5, every move will be slightly off. This shows up as constant drift in one direction.
This problem is common after you change motors, belts, pulleys, or microstepping settings.
How to fix it:
- Command the machine to move 100mm on the X axis.
- Measure the actual movement with calipers.
- Use this formula: new steps per mm = current steps per mm × (commanded distance ÷ actual distance).
- Update the value in firmware (
$100and$101in GRBL). - Repeat until movement matches the command within 0.1mm.
Pros: Permanent calibration that improves all future jobs. Cons: Takes 15 to 30 minutes to dial in properly.
Cause 8: Overheated Stepper Motors or Drivers
Steppers run hot by design. But above 80°C, the magnetic field weakens, and torque drops. The driver chip on the board also has a thermal limit. When it overheats, it shuts off briefly, and you lose steps.
Long engravings on hot summer days are the worst case.
How to fix it:
- Touch the motor case briefly after a job. If it is too hot to hold, you have a heat problem.
- Add a small heatsink to each driver chip.
- Point a small fan at the control board.
- Lower the driver current if the motors are running hotter than needed.
- Improve airflow inside the enclosure.
Pros: Active cooling solves many issues silently. Cons: Adds fan noise and a bit of clutter.
Cause 9: Bad USB Cable or Communication Drops
Some machines stream G code over USB during the job. If the cable is poorly shielded, electrical noise from the steppers or laser can interrupt the data stream. The controller pauses or skips commands, and the result looks like step loss.
This is especially common on long cables or near other electrical equipment.
How to fix it:
- Use a short, shielded USB cable with ferrite chokes.
- Run jobs from an SD card or offline controller when possible.
- Keep the USB cable away from power cables and the laser PSU.
- Close other programs that may interrupt the data stream.
Pros: SD card jobs are immune to USB noise. Cons: Some workflows still need live USB control.
Cause 10: Dirty or Worn Rails and Wheels
Dust, smoke residue, and tiny chips of material collect on the rails over time. The gantry then moves with extra resistance. The motor works harder. At high speeds, it runs out of torque and skips.
Worn V wheels with flat spots cause the same problem. They no longer roll smoothly.
How to fix it:
- Wipe the rails with a clean cloth and rubbing alcohol weekly.
- Inspect each V wheel for cracks, flat spots, or play.
- Replace any worn wheel.
- Avoid lubricating the rails. Most V wheel systems run dry by design.
Pros: Regular cleaning extends the life of the whole machine. Cons: Requires a small time commitment every week.
Cause 11: Firmware Bugs or Corrupt G Code
Sometimes the machine is fine, but the file is bad. A G code file with corrupted lines or unsupported commands can cause the controller to stutter or jump. Old firmware versions may also have known bugs that cause step loss under specific conditions.
How to fix it:
- Re export your design from the slicer or laser software.
- Open the G code in a text editor and scan for odd characters.
- Update your controller firmware to the latest stable release.
- Test with a simple known good file like a square or circle.
Pros: Updates often add speed and stability improvements. Cons: A bad firmware flash can brick your board, so back up first.
How to Diagnose Step Loss Step by Step
Use this short checklist when step loss happens. It saves you from random guessing.
First, run a test square at slow speed. If it closes cleanly, the mechanics are fine. Repeat at full speed. If it fails now, your problem is speed, acceleration, or torque.
Next, check every grub screw and belt by hand. Push the gantry gently in every direction. Any play or clicking is a clue. Then look at the driver and motor temperatures after a long job. Finally, test with a different file and a different cable. By the time you finish this list, you will have found the cause.
FAQs
Why does my laser engraver only lose steps on one axis?
That axis usually has a mechanical issue, not an electrical one. Check the grub screw on that motor first. Then check the belt tension and the V wheels on that rail. One axis problems are almost always isolated to that side of the machine.
Can I fix step loss without buying new parts?
Yes, in most cases. The top fixes are lowering acceleration, tightening grub screws, adjusting belt tension, and cleaning the rails. These cost nothing and fix the majority of step loss problems. Only replace parts if you confirm wear or damage.
Is step loss the same as backlash?
No. Backlash is play in the mechanical system that causes small position errors at every direction change. Step loss is the motor missing a commanded pulse entirely. Backlash is consistent and small. Step loss grows over the length of the job.
How fast is too fast for my engraver?
Every machine has a different limit, but most diode lasers start losing steps above 6000 to 8000 mm per minute on rapids. Engraving speeds are usually lower. Check your manual, then run test squares to find your safe ceiling.
Do closed loop steppers fix step loss for good?
Closed loop steppers use an encoder to confirm every move. They detect and correct missed steps in real time. They are a permanent solution, but they cost more and need a controller that supports them. For most hobby users, fixing the root cause is cheaper and works just as well.

Hi, my name is Lily you can say i am a gadget hunter at this point. Welcome to Gadget Gallery The Gallery of Gadget Reviews