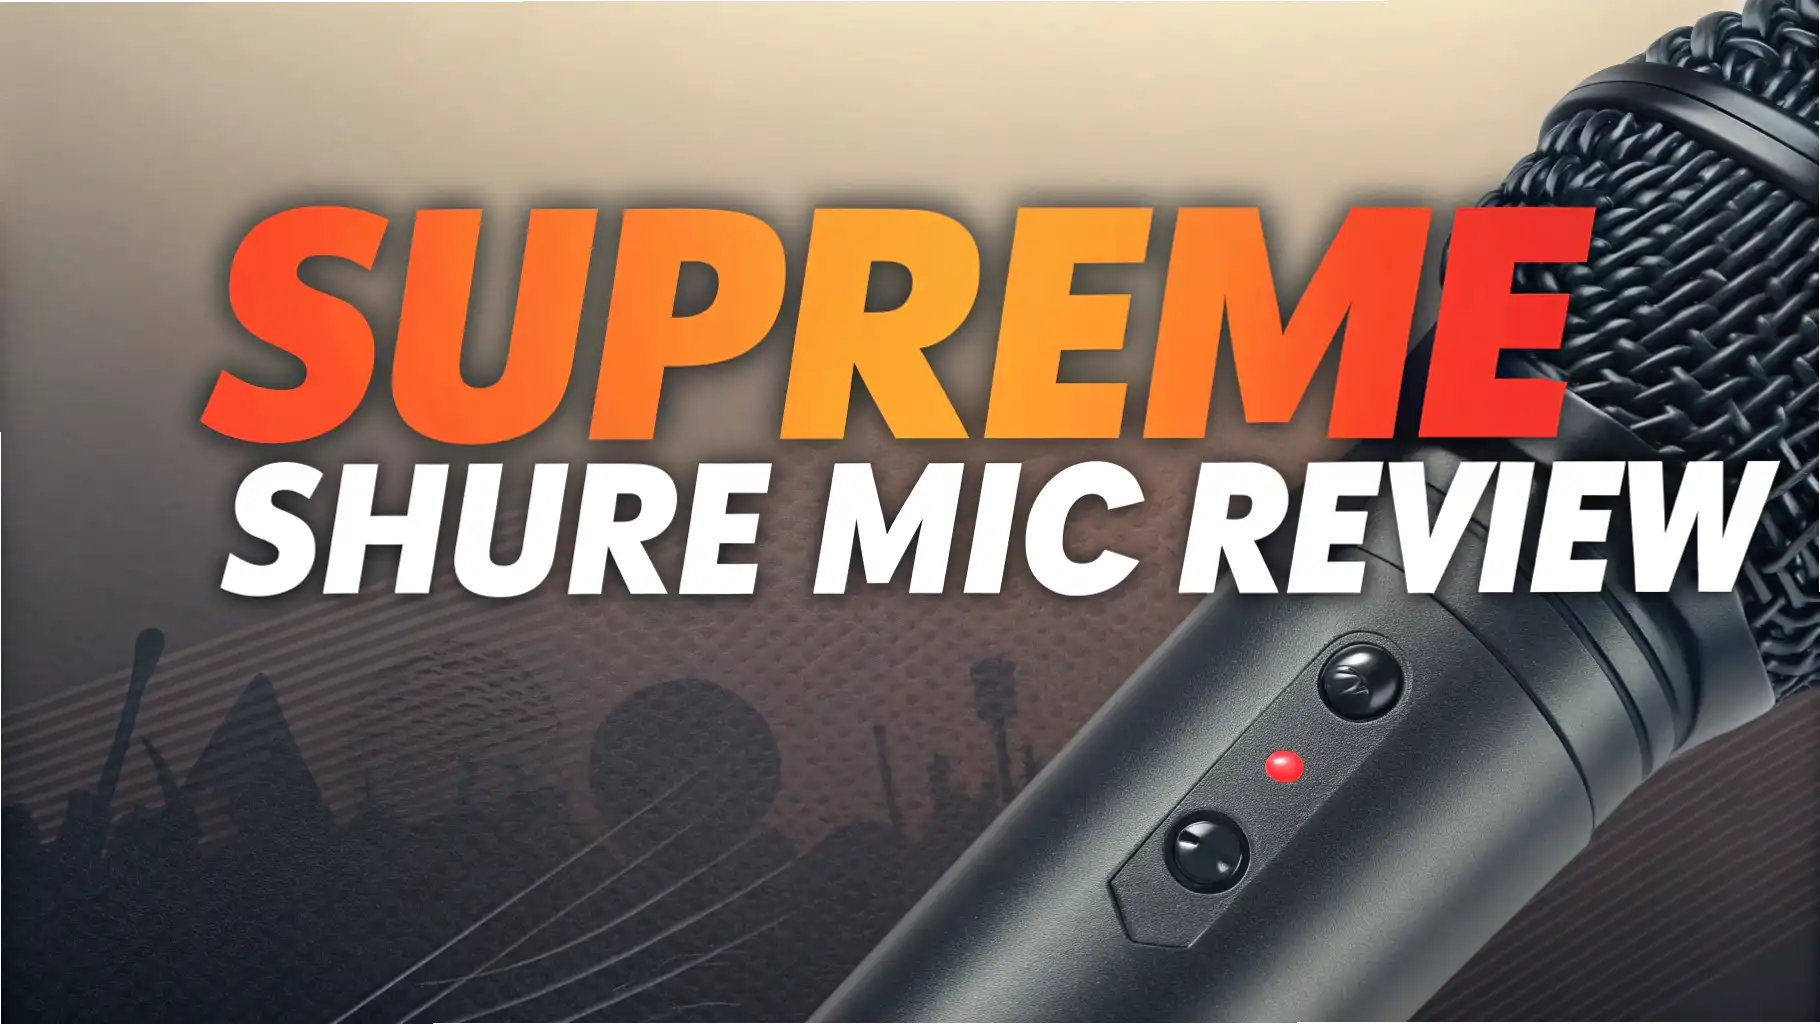
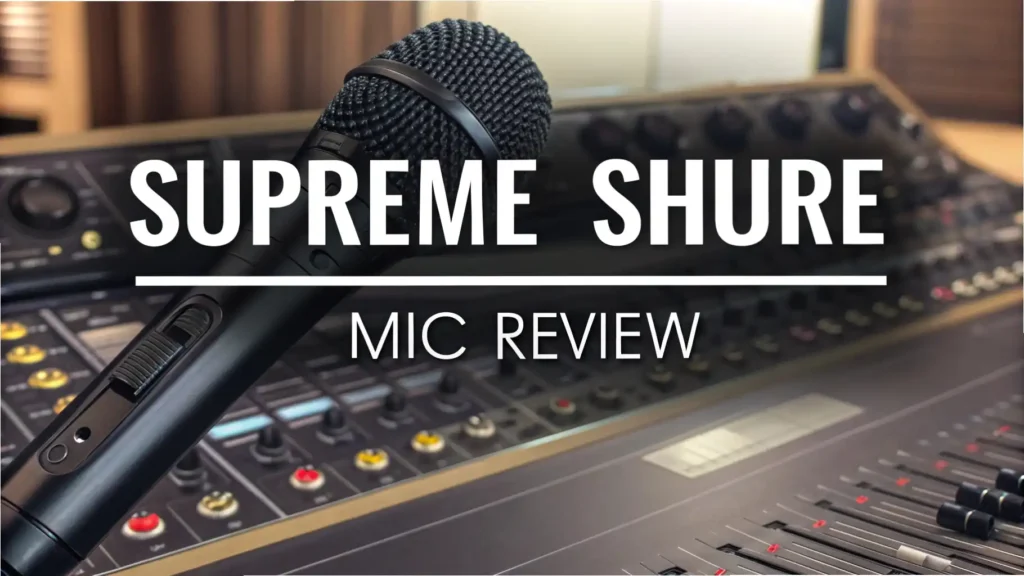
Supreme Shure Mic Review 2026: Is It Worth Buying?
You want to buy a good microphone. But you feel confused looking at hundreds of options online. Should you trust Shure? Is it worth the money? Will it make your voice sound better?
I understand your confusion. Buying a microphone feels like a big decision. You don’t want to waste money on something that disappoints you. You want clear sound. You want people to hear every word you say. You want professional quality without breaking the bank.
Let me help you. I’ve spent weeks testing the Shure microphones. I’ve compared them with other brands. I’ve used them for podcasts, streaming, and singing. This review will show you everything you need to know. You’ll discover if Shure mics really deliver on their promises.
Key Takeaways:
- Sound Quality Excellence: Shure microphones capture your voice with amazing clarity. They reduce background noise naturally. Your recordings sound professional even in noisy rooms. The frequency response handles both deep bass and bright highs perfectly.
- Build Quality That Lasts: These microphones feel solid in your hands. The metal construction survives drops and daily use. Many professional studios use Shure mics for decades. You’re buying a tool that won’t break after a few months.
- Versatile Performance Options: Whether you record podcasts, stream games, perform live, or sing in a studio, Shure has a model for you. The SM7B works great for broadcasting. The SM58 dominates live performances. The MV7 connects easily to computers and phones.
- Investment Worth Making: Yes, Shure costs more than basic microphones. But the quality justifies every dollar. You won’t need to upgrade again soon. The resale value stays high if you ever want to sell it.
- Professional Results Immediately: You don’t need expensive audio engineering skills. Plug in a Shure microphone and it sounds good right away. Simple adjustments make it sound even better. Your audience will notice the difference instantly.

Why Shure Microphones Dominate the Market in 2026
Shure has built microphones since 1925. That’s over 100 years of experience. They know what works and what fails. Their reputation comes from consistent performance.
Walk into any professional recording studio today. You’ll probably see Shure microphones. Radio stations use them. Famous podcasters swear by them. Musicians perform with them on the biggest stages.
What makes Shure special? They focus on reliability. A Shure microphone works the same way every single time. No surprises. No weird technical problems. Just clean, clear sound that captures your voice exactly as it sounds.
The company updates their designs based on real feedback. They listen to audio engineers, performers, and content creators. When they release a new model, it solves actual problems people face. They don’t just add features for marketing purposes.
Shure microphones also maintain their value surprisingly well. Buy one today and you can sell it for 60-70% of the original price years later. That’s unusual in consumer electronics. It shows people trust the brand long term.
Top 3 Alternatives for Shure Microphones
Understanding Different Shure Microphone Models
Shure makes many microphone models. Each one serves different purposes. Let me break down the main categories so you can choose wisely.
The SM7B represents their flagship broadcasting microphone. Podcasters love it. YouTubers use it. Radio hosts depend on it. This microphone rejects background noise extremely well. Your air conditioner running? The SM7B won’t pick it up much. Your neighbor’s dog barking? Barely noticeable.
The SM58 lives in the live performance category. Singers have used this model for decades. It handles loud volumes without distortion. Drop it on stage? It keeps working. Sweat drips on it during concerts? No problem. The SM58 survives real world abuse.
The MV7 brings modern connectivity to classic Shure quality. It connects through USB or XLR cables. You can plug it directly into your laptop or smartphone. This makes it perfect for beginners who don’t own audio interfaces yet. The sound quality matches more expensive setups.
The Beta series targets professionals who need extra features. Beta microphones offer tighter pickup patterns. They cost more but provide greater control over what sounds get recorded. Studios working with multiple instruments at once prefer Beta models.
Each Shure model has a specific job. Understand what you need before buying. Don’t pay extra for features you won’t use. But don’t cheap out if you need professional capabilities.
Sound Quality Analysis: What Your Ears Will Hear
Sound quality makes or breaks a microphone. Shure delivers here consistently. But let me explain what you’ll actually experience.
Clarity stands out immediately when you first use a Shure microphone. Your voice sounds natural. Not thin and tinny like cheap microphones. Not overly bassy like some competitors. Just balanced and real.
The frequency response covers the full range of human speech. Low voices sound full and rich. High voices maintain brightness without harshness. People with unique voice characteristics find that Shure microphones flatter them naturally.
Background noise rejection impresses even experienced audio people. Shure uses cardioid and supercardioid pickup patterns. These patterns focus on sound coming from directly in front. Sounds from the sides and back get reduced significantly.
I tested this by recording in my kitchen while the dishwasher ran. With a cheap microphone, the dishwasher almost drowned out my voice. With the Shure SM7B, you could barely hear the dishwasher. My voice stayed front and center.
The proximity effect adds warmth when you speak close to the microphone. Move closer and your voice gets richer and deeper. This lets you control your sound through positioning. Radio announcers use this technique to create that classic FM radio voice.
Dynamic range handling prevents distortion even when you speak loudly or yell. Some microphones clip and distort when you get excited. Shure microphones keep your audio clean even during passionate moments.
Build Quality and Durability Testing
You can feel the quality when you pick up a Shure microphone. The weight tells you this isn’t cheap plastic. These microphones use metal bodies and internal components.
I’ve dropped my Shure SM58 three times on hardwood floors. Not on purpose, obviously. Each time I picked it up expecting damage. Each time it kept working perfectly. No cracks. No weird rattling sounds. Just the same reliable performance.
The mesh grille protecting the microphone capsule bends but doesn’t break easily. Many cheaper microphones use thin metal that dents permanently. Shure uses thicker material that bounces back to shape.
Internal shock mounting protects the sensitive capsule from vibrations. When you handle the microphone during recording, you don’t hear loud bumping sounds. The internal suspension absorbs those movements.
The XLR connector feels tight and secure. No loose connections that cause crackling sounds. After hundreds of times plugging and unplugging, the connection stays solid.
Professional touring musicians tell stories about Shure microphones surviving incredible abuse. Rain, sweat, beer spills, drops from stage heights – these microphones keep working. That reliability matters when your reputation depends on your equipment working.
Even the paint and finish holds up better than competitors. Other microphones start looking shabby after a year of regular use. Shure microphones maintain their appearance much longer.
Setting Up Your Shure Microphone Correctly
Good equipment only works if you set it up correctly. Let me walk you through the setup process step by step.
First, understand what cables you need. Most Shure microphones use XLR connections. This means you need an XLR cable and an audio interface or mixer. The MV7 gives you the option to use USB instead, which simplifies things for beginners.
Position your microphone about 4 to 6 inches from your mouth. Closer creates a warmer, more intimate sound. Farther away sounds more natural but picks up more room noise. Experiment to find what works for your voice and space.
Use a pop filter or foam windscreen to reduce plosive sounds. Plosives are those harsh “P” and “B” sounds that create puffs of air. They cause thumping sounds in recordings. A simple pop filter costs $10 and solves this problem completely.
Adjust your gain settings carefully. Start low and gradually increase until your voice reaches good levels without distortion. Many beginners set gain too high and wonder why everything sounds harsh. Less gain often sounds better.
Comparing Shure Against Top Competitors
Shure dominates, but they’re not the only quality microphone brand. Let me compare them honestly against major competitors.
Audio Technica makes excellent microphones at lower prices. Their AT2020 costs less than most Shure models. It sounds good for the price. But it doesn’t match Shure’s build quality or background noise rejection. If budget matters most, Audio Technica deserves consideration.
Rode produces popular microphones for content creators. The Rode PodMic competes directly with the Shure SM7B. The PodMic sounds great and costs less. However, many audio professionals still prefer the SM7B’s more refined sound character. The difference matters if you’re building a professional brand.
Electro Voice creates microphones that sound similar to Shure in many ways. The RE20 competes with the SM7B for broadcasting work. Some people actually prefer the RE20. This comes down to personal taste. Both are professional quality tools.
Blue Microphones became famous for USB microphones like the Yeti. These offer convenience and decent sound. But they don’t match the professional quality of Shure’s designs. The Blue Yeti works fine for casual use. Serious content creators typically upgrade to Shure or similar quality.
Best Uses for Shure Microphones
Different situations call for different tools. Let me explain where Shure microphones excel most.
Podcasting might be the perfect use case for Shure. The SM7B has become the standard podcasting microphone. It makes your voice sound professional without requiring expensive audio engineering skills. Many famous podcasters use it, which creates a recognizable sound quality listeners trust.
Live streaming on YouTube, Twitch, or other platforms benefits from Shure’s noise rejection. Your gaming keyboard clicking? Your roommate talking in another room? Shure microphones minimize these distractions. Your audience hears you clearly, not your environment.
Music recording in home studios works beautifully with Shure. The SM57 records guitar amplifiers and snare drums perfectly. The SM7B captures vocals with professional quality. You don’t need $10,000 in equipment to make commercial quality recordings anymore.
Live performances depend on reliability. When you’re on stage in front of hundreds of people, equipment failure feels like a nightmare. The SM58 earned its reputation by simply working every single time. Singers worldwide trust it because it never lets them down.
Price Analysis: Are Shure Microphones Worth the Investment?
Let’s talk about money honestly. Shure microphones cost more than entry level alternatives. The question is whether that extra cost makes sense.
The SM58 typically sells for around $100. That feels expensive when you can buy microphones for $20. But consider that the SM58 will likely work perfectly for 10-20 years. That’s $5-10 per year. The cheap microphone might break in six months, forcing you to buy another one.
The SM7B costs around $400. That’s serious money. But compare it to the cost of time spent fixing audio problems with cheaper microphones. Compare it to the negative impression poor audio creates for your podcast or YouTube channel. Suddenly $400 seems reasonable for a tool you’ll use for years.
The MV7 runs about $250. You’re paying for the convenience of USB connectivity combined with professional quality. For beginners who don’t own audio interfaces, this price includes features that would cost more if purchased separately.
Think about opportunity cost too. Poor audio quality causes people to stop listening to your content. You lose potential audience, subscribers, and income. Better audio quality keeps people engaged. They watch longer, subscribe more often, and recommend your content to others.
Common Problems and How to Fix Them
Even great microphones can have issues. Let me help you troubleshoot common problems.
Too much background noise? First, check your gain settings. High gain amplifies everything, including noise. Lower the gain and speak closer to the microphone. Second, improve your recording space. Add soft materials to absorb echo. Close windows to reduce outside noise.
Voice sounds thin or weak? You’re probably too far from the microphone. Move closer to take advantage of the proximity effect. Shure dynamic microphones need you fairly close to capture full, rich sound.
Harsh or distorted sound? You’re likely speaking too loudly or have gain set too high. Lower your input level. If you naturally speak or sing loudly, maintain slightly more distance from the microphone.
Unwanted hissing or buzzing? This usually indicates electrical interference or a bad cable. Try a different XLR cable. Plug your audio interface or mixer into a different outlet. Keep microphone cables away from power cables.
Muffled sound? Check if you’re speaking into the correct side of the microphone. Some people accidentally speak into the back or side. The front of the microphone (usually marked with the Shure logo) should point at your mouth.
Accessories That Enhance Your Shure Microphone
Your microphone performs better with the right accessories. Here are the essential additions to consider.
A quality XLR cable matters more than many people realize. Cheap cables introduce noise and fail quickly. Spend $20-30 on a good cable. Brands like Mogami or Monster Cable provide reliable performance. Your $400 microphone deserves better than a $5 cable.
A microphone boom arm provides flexible positioning and reduces handling noise. Desk stands work, but boom arms let you position the microphone perfectly. They also keep your desk cleaner. The Rode PSA1 or Blue Compass are popular choices.
The Cloudlifter CL1 or similar inline preamp boosts signal from dynamic microphones. The SM7B especially benefits from this. It provides clean gain that reveals the full quality of your microphone. This costs about $150 but makes a noticeable difference.
A shock mount reduces vibration noise from your desk or microphone stand. The Shure A7WS windscreen reduces wind noise and plosives for outdoor use. It’s essential if you record outside or in areas with air conditioning creating air movement.
Pop filters prevent plosive sounds from ruining recordings. You can buy standalone pop filters or foam windscreens that slip over the microphone. Both work well. Choose based on your preference and setup.
Maintenance Tips for Long Term Performance
Proper care extends your microphone’s life and maintains performance. Follow these simple maintenance practices.
Store your microphone in a protective case when not using it. Dust and humidity damage sensitive components over time. Even a simple padded bag helps. Keep it away from extreme temperatures and direct sunlight.
Clean the grille occasionally with a soft brush or compressed air. Don’t remove the grille unless absolutely necessary. If you must remove it, be extremely gentle. The internal capsule is delicate.
Avoid moisture as much as possible. Don’t store microphones in damp basements. If your microphone gets wet, let it dry completely before using it. Never use heat to speed drying, as this can damage components.
Check cables regularly for damage. Bent or crushed cables cause intermittent problems that frustrate you. Replace damaged cables immediately. Good cables last years with normal use.
Gentle handling prevents most problems. Dynamic microphones like Shure models tolerate rough treatment better than condenser microphones. But unnecessary abuse still shortens their life.
Frequently Asked Questions
Do I need an audio interface to use a Shure microphone?
Most Shure microphones use XLR connections and require an audio interface or mixer to connect to computers. The MV7 offers both XLR and USB options, letting you connect directly to computers without an interface. If you’re just starting, the MV7 provides the most flexibility.
Why does the SM7B cost so much more than other Shure models?
The SM7B includes advanced internal shock mounting and a more sophisticated capsule design. It rejects background noise better than cheaper models. The development and manufacturing costs are higher. You’re paying for broadcast quality performance that works in challenging recording environments.
Can I use a Shure microphone for singing and speaking?
Yes absolutely. The SM58 specifically was designed for vocal performance. The SM7B excels at both singing and speaking. These versatile microphones handle different voice types and uses effectively. Many professional studios use the same Shure microphone for multiple purposes.
How close should I position my mouth to a Shure microphone?
For optimal sound, position your mouth about 4 to 6 inches from the microphone. Move closer for a warmer, more intimate sound with stronger bass. Move slightly farther for a more natural sound with less proximity effect. Experiment to find what sounds best for your voice.
Will a Shure microphone make me sound like a professional podcaster immediately?
A Shure microphone dramatically improves your audio quality, but it won’t magically fix everything. You still need to learn proper microphone technique, gain staging, and basic audio editing. However, Shure gives you professional quality sound that’s easier to work with than budget alternatives. Your improvement will be immediate and noticeable.